CADMATE for Beginners: A Beginner’s Guide to CAD Design with CADMATE
Embarking on your journey into Computer-Aided Design (CAD) can be both exciting and daunting, especially if you’re just starting out. Fortunately, CADMATE offers a user-friendly platform that is perfect for beginners looking to dive into the world of CAD design. In this step-by-step guide, we’ll walk you through the basics of CAD design with CADMATE, helping you get started on your path to mastering this powerful software.

1. Installation and Setup
The first step to getting started with CADMATE is to download and install the software on your computer. Visit the CADMATE website and follow the instructions for downloading and installing the software. Once installed, launch CADMATE and follow the setup prompts to configure your preferences and settings.
2. Familiarizing Yourself with the Interface
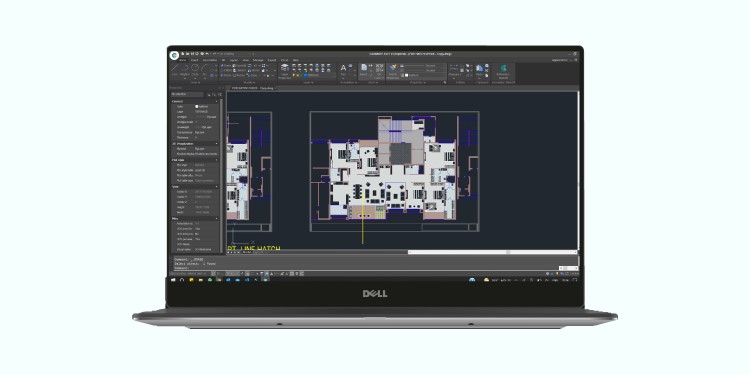
Upon launching CADMATE, you’ll be greeted with the software’s interface, which consists of various menus, toolbars, and panels. Take some time to familiarize yourself with the interface and the different tools and commands available. Explore the various menus and toolbars to get an understanding of the software’s layout and organization.
3. Creating Your First Drawing
To create your first drawing in CADMATE, start by selecting the “New” option from the File menu. This will open a new drawing canvas where you can begin sketching your design. Use the drawing tools and commands available in CADMATE to create shapes, lines, and other geometric elements to build your design.
4. Understanding Drawing Tools and Commands
CADMATE offers a wide range of drawing tools and commands that allow you to create and manipulate geometric shapes and objects. Some of the basic drawing tools include lines, circles, rectangles, and polygons, while more advanced tools allow you to create curves, splines, and 3D objects. Take some time to explore these drawing tools and experiment with different shapes and objects.
5. Adding Dimensions and Annotations
Once you’ve created your drawing, you can add dimensions and annotations to provide additional information about your design. CADMATE offers a variety of dimensioning and annotation tools that allow you to add measurements, labels, and other annotations to your drawing. Use these tools to communicate important details about your design and ensure clarity and precision.
6. Saving and Exporting Your Drawing
After you’ve finished creating your drawing, it’s important to save your work to avoid losing any progress. Select the “Save” option from the File menu and choose a location on your computer to save your drawing. Additionally, CADMATE allows you to export your drawing in various file formats, such as DWG, DXF, and PDF, making it easy to share your work with others.
7. Learning Resources and Support
As you continue to explore CADMATE and delve deeper into CAD design, don’t hesitate to seek out learning resources and support. CADMATE offers a range of tutorials, documentation, and training materials to help beginners get started and master the software. Additionally, online forums and communities are great places to ask questions, seek advice, and connect with other CAD professionals.
Conclusion :
In conclusion, CADMATE is an excellent choice for beginners looking to learn CAD design. With its user-friendly interface, intuitive drawing tools, and extensive documentation and support, CADMATE provides everything you need to get started on your CAD journey. By following this step-by-step guide and exploring the various features and tools available in CADMATE, you’ll be well on your way to mastering CAD design and creating amazing designs in no time.